
I did what any self-respecting blogger would do and Googled it. All I found was a lot of information on how to design a button. Well, that didn't help me one bit. I could already do that. I have a graphic design A-level, don't you know!
So I took it upon myself to learn how to do it. It didn't take very long at all and it is super easy! So I thought I would share my new-found knowledge in case there was anybody out there who, like me, was a little bit clueless.
This tutorial is for Blogger. I have absolutely no idea how other platforms work so I'm afraid I'm none the wiser there.

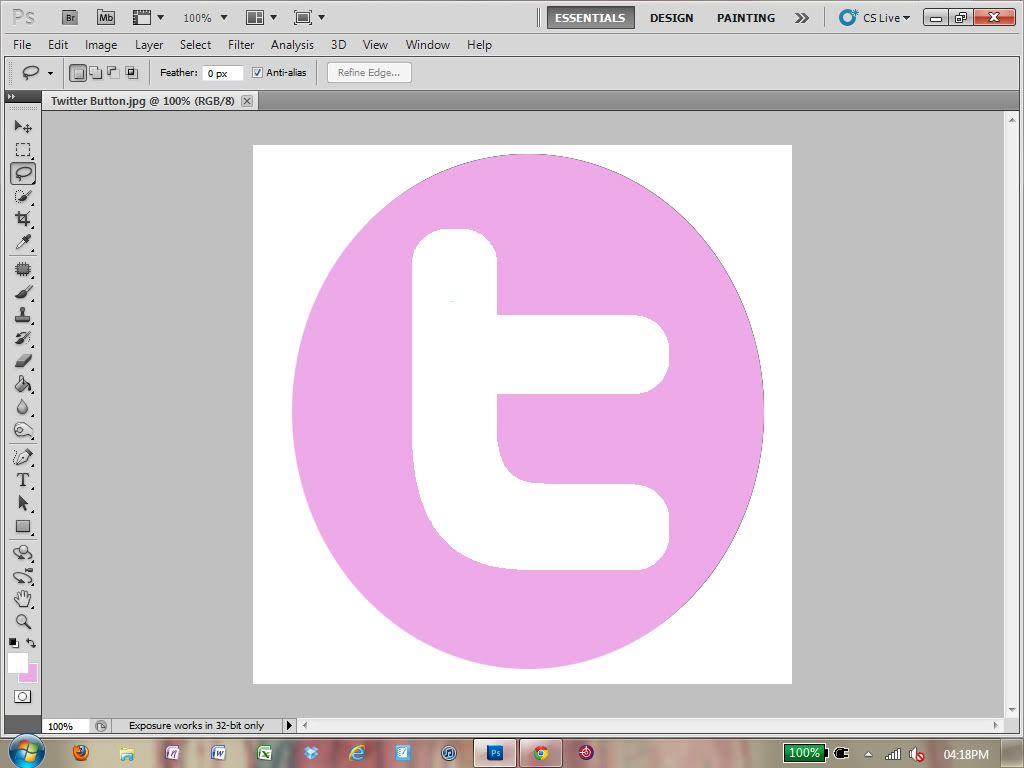
1. Ok, so first things first: Design your button. You can do this is in Photoshop, Gimp, Pixlr, even MS Paint if that's what takes your fancy. Whatever you use, make sure it looks awesome. Oh and check your pixels. You need to make sure your button will fit inside your sidebar (or wherever you're putting it).
You can see how wide your sidebars are here: Design> Template Designer> Adjust widths.
All done and looking awesome? Right, save it as a jpg.


2. Now pop over to Photobucket, Flickr or whichever image-sharing platform you prefer and upload it. See that little arrow pointing to "Direct Link"? Remember where that is, we're going to use it later. Lock it in your brain. Click, click.

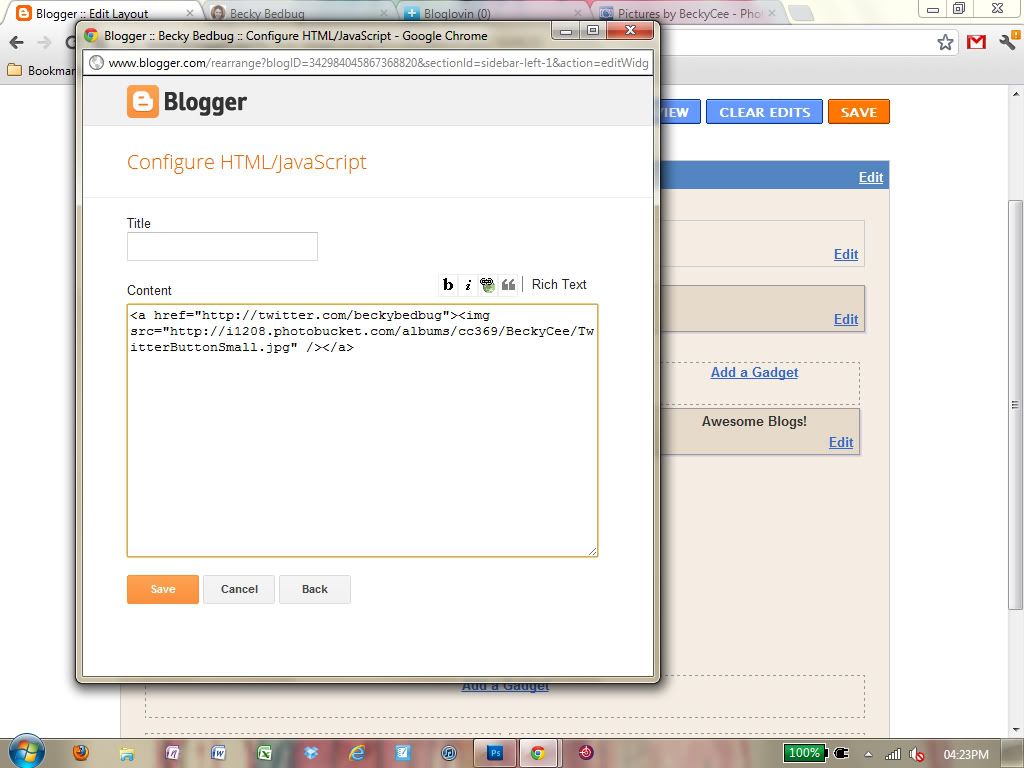
3. Right, open up your Blogger design tab. Click that "Add a Gadget" button and add an HTML box. Now, this is the HTML bit so listen closely. Inside that box, you want to type what I have up there.
Where it says "http://twitter.com...", you want to type in the URL for the page your button is going to link to. Leave the speech marks in. They're important. I don't know why, but they are. Where it says "http://www.il208...", you want to type the "Direct Link" that you locked in your brain earlier.
4. Ok, hit that save button!
Now go and check your blog. Woohoo! You made a button from scratch. Go you!
Great tutorial!!!
ReplyDeletehttp://estilohedonico.blogspot.pt/
xoxo
This would have been so useful when I started my blog!
ReplyDeleteYou have a new follower on GFC! that's me! Please follow me back!
xXx
http://unspeakablethoughtsunspoken.blogspot.co.uk
this is such a life saver!
ReplyDeletethank you!
I never thought of making some for my blog, but they look cute! Photoshop is calling me! :)
ReplyDeleteYou are an absolute star for doing this post!!
ReplyDeleteI have actually printed it out and shared it with my other blogger friends!!
http://wotshernameagain.blogspot.com
https://twitter.com/#!/Wotshernameagai
Hi! This is funny... I have the same thing on my blog... but I can manage to put all four buttons side by side... is there another trick you could share with me on this!
ReplyDeleteThanks! Cool blog!
Ana Luisa (Lisbon, Portugal)
www.doceparaomeudoce.blogspot.com
this is so useful, thank you!
ReplyDeletehttp://cloudsandcuticleoil.blogspot.co.uk/
xx