
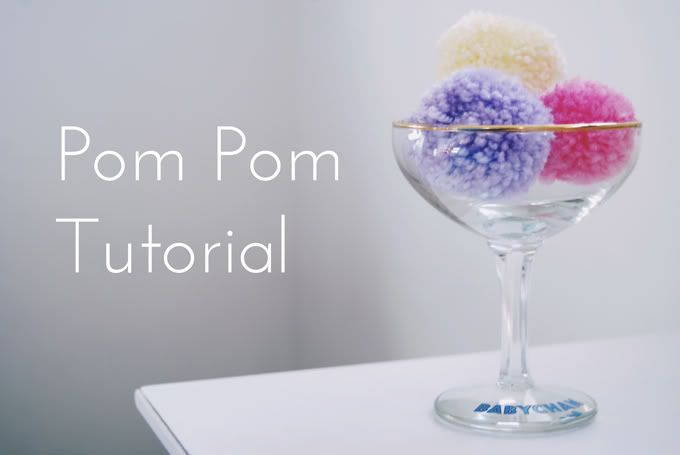
I love making pom poms. When I was a kid, my grandad taught me and I remember spending hours on them. It's so therapeutic, so easy and you don't even need to think about it so you can make them whilst watching the TV!
They're also so versatile. You can make jewellery, garlands, little fuzzy animals.You can make them multicoloured, you can have half of one colour and half of another. In fact, since I'm not one for flowers, I'm planning to hold a pom pom bouquet when I get married!

You will need:
- Card. Any card will do. It's best to use food packaging or something that you're going to throw out.
- Wool. Tip: the thicker the wool, the less time your pom pom will take!
- Scissors. Preferably not kitchen scissors like me! I've lost my decent ones.
- Pen or pencil.
 1. Cut two rings out of the card. Don't worry about them being perfect because that won't matter later.
 2. Place the rings together and tie one end of the wool to them. Cut a length of wool (longer is better, but beware of getting tangled up if it's too long) and start winding the wool around the ring, pulling it up through the middle.
 4. Don't worry about getting it perfect. Just keep winding and winding, all the way around and then back over. Do this until the hole has closed up so much that you can't poke anymore wool through. You should be left with a big woolly doughnut.
 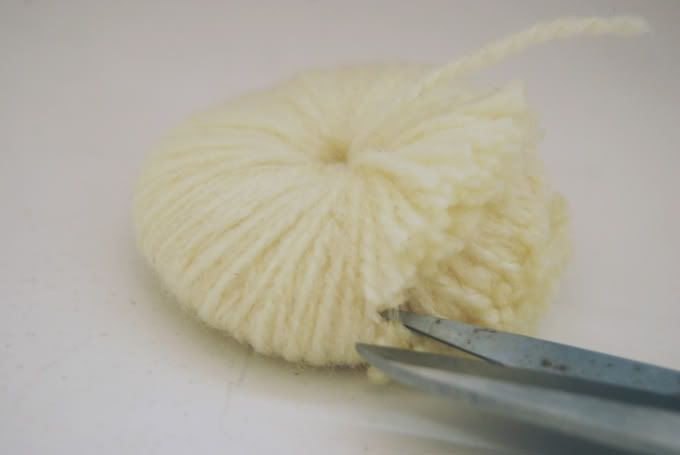 5. With your scissors, snip the wool at the edges. You want to cut all around so that no wool is left wrapped around the card rings.
  6. When you're finished, it should look a little like this. Carefully wiggle the card rings apart and tie a new length of wool around the middle, between them. Secure it really tightly. I always put several knots in to make sure.
  7. Carefully cut the card rings free. Be careful not to pull out any of the wool.
  8. Use the leftover wool from the middle to hold up your pom pom. Give it a little fluffing out and trim any bits that stick out.
 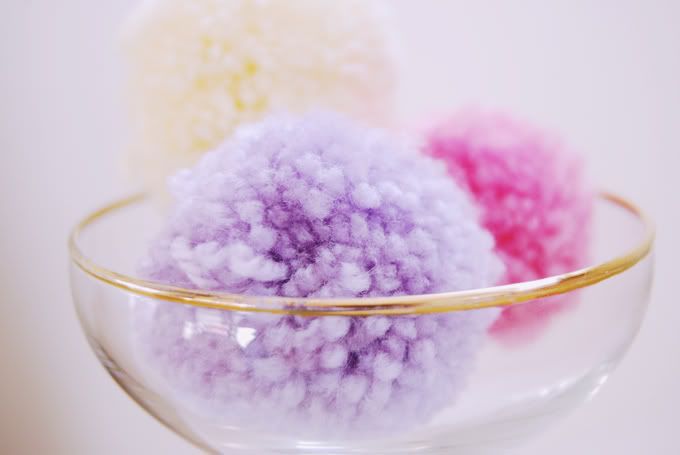 Et voilá! Your pom pom is complete! What would you do with it?
Hi dear friend Becky, You have a very nice blog and also thank you very much for pom pom tutorial. I am your new follower..:)))
ReplyDeleteNice to meet you very much. I wish you very happy days..
If you visit my blog I will be very happy. Thank you very much...
xoxo
http://becktovintage.blogspot.com/
This is great! I too love making pom pom...I use them during the holidays to decorate/wrap presents with instead of a bow. I recently discovered if you use a brush/fine comb and "tease" them (like hair) they get even fuzzier!
ReplyDelete-Rachel
http://www.thecuratorial.com
What a great idea! I never would have thought of teasing them. I'm going to try that! Fuzzy pom poms, here I come!
DeleteFun, I'll have to try those out!
ReplyDeleteP.S. Come join the Blogging Besties Swap, live on my blog today! Make a new friend and get fun goodies in the mail!
I love how you presented the pompoms in the glass - so cute! I've always tried making pompoms this way but I guess I never did like, multiple layers i guess? Because mine would end up limp and floppy. I feel like trying this again :3 !!
ReplyDeletexo
http://kittysnooks.blogspot.ca/
Thank you. I think it ended up looking a bit like fluffy ice cream!
Deletebrilliant! i'll have to try it sometime :)
ReplyDeleteSweet! Thanks so much for this :)
ReplyDeleteI am going to so use it, because it's way better than the method that I've been using lol
What method were you using?
DeleteThere are few things on earth I love more than pom poms! I recently bought some fancy glass jars that are dying to be filled to the brim with brightly coloured poms and boy do I ever plan on making some! Cute tutorial :)
ReplyDeleteSaw your post on IFB ! this is amazing! DIY http://flouncesandslashes.blogspot.com
ReplyDelete